
Reloading 101: Getting Started
Reloading your own ammunition can save money over time and let you fine-tune loads for your specific rifle or handgun. If you're new to it, here's a general overview of what the process involves and what to have on hand before you start.
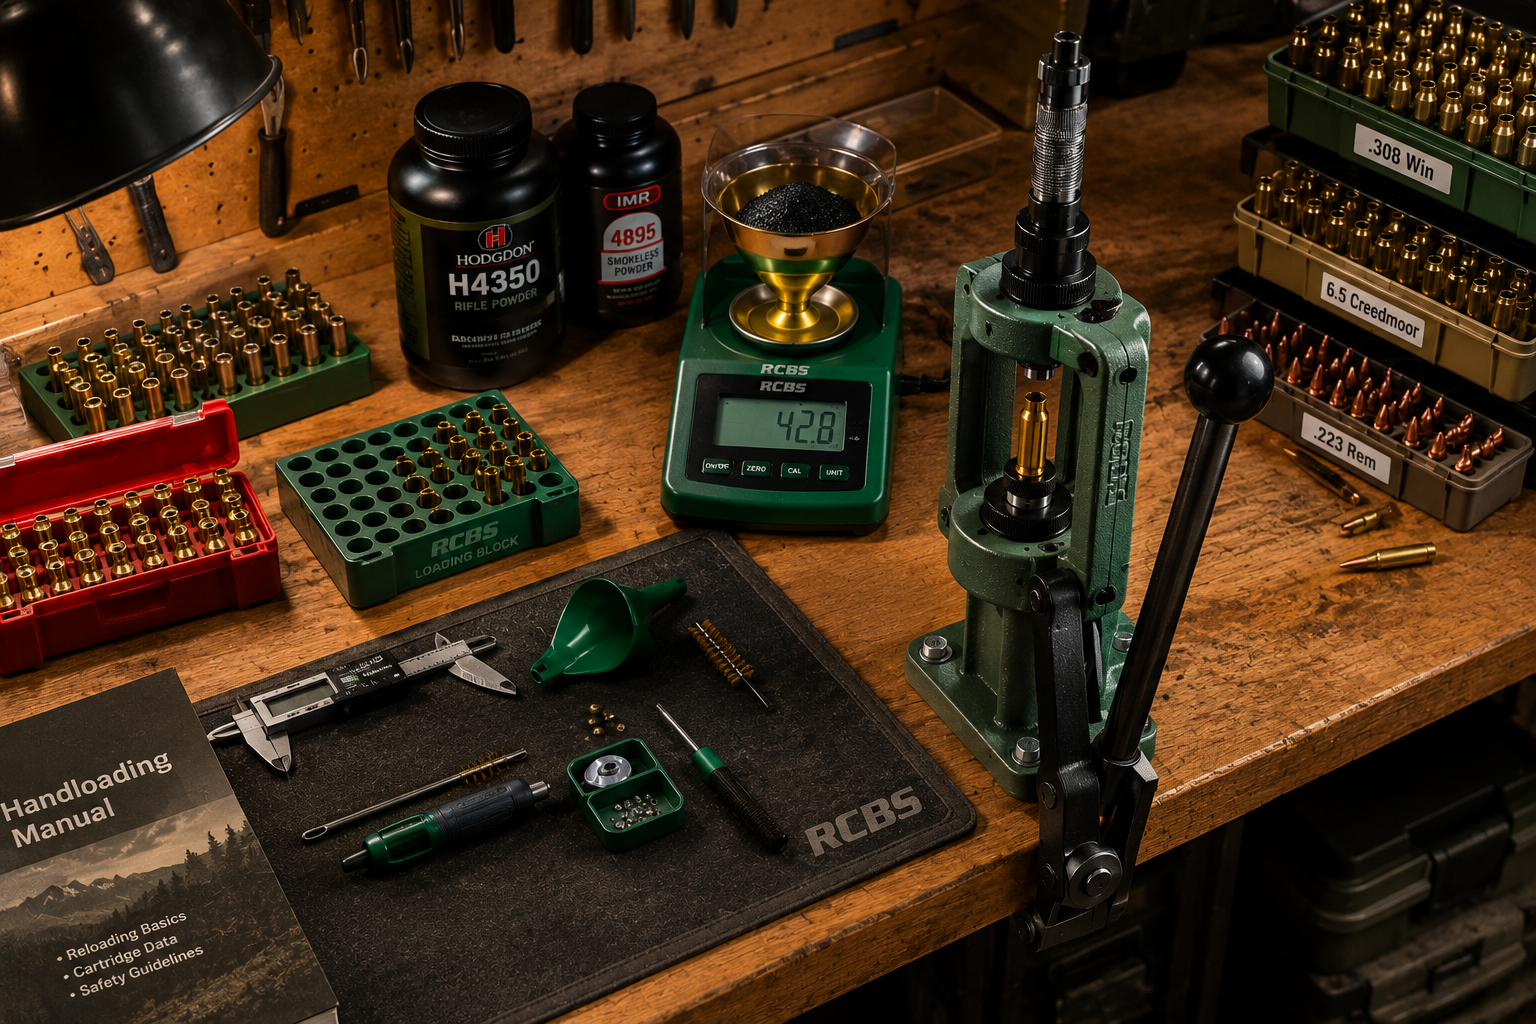
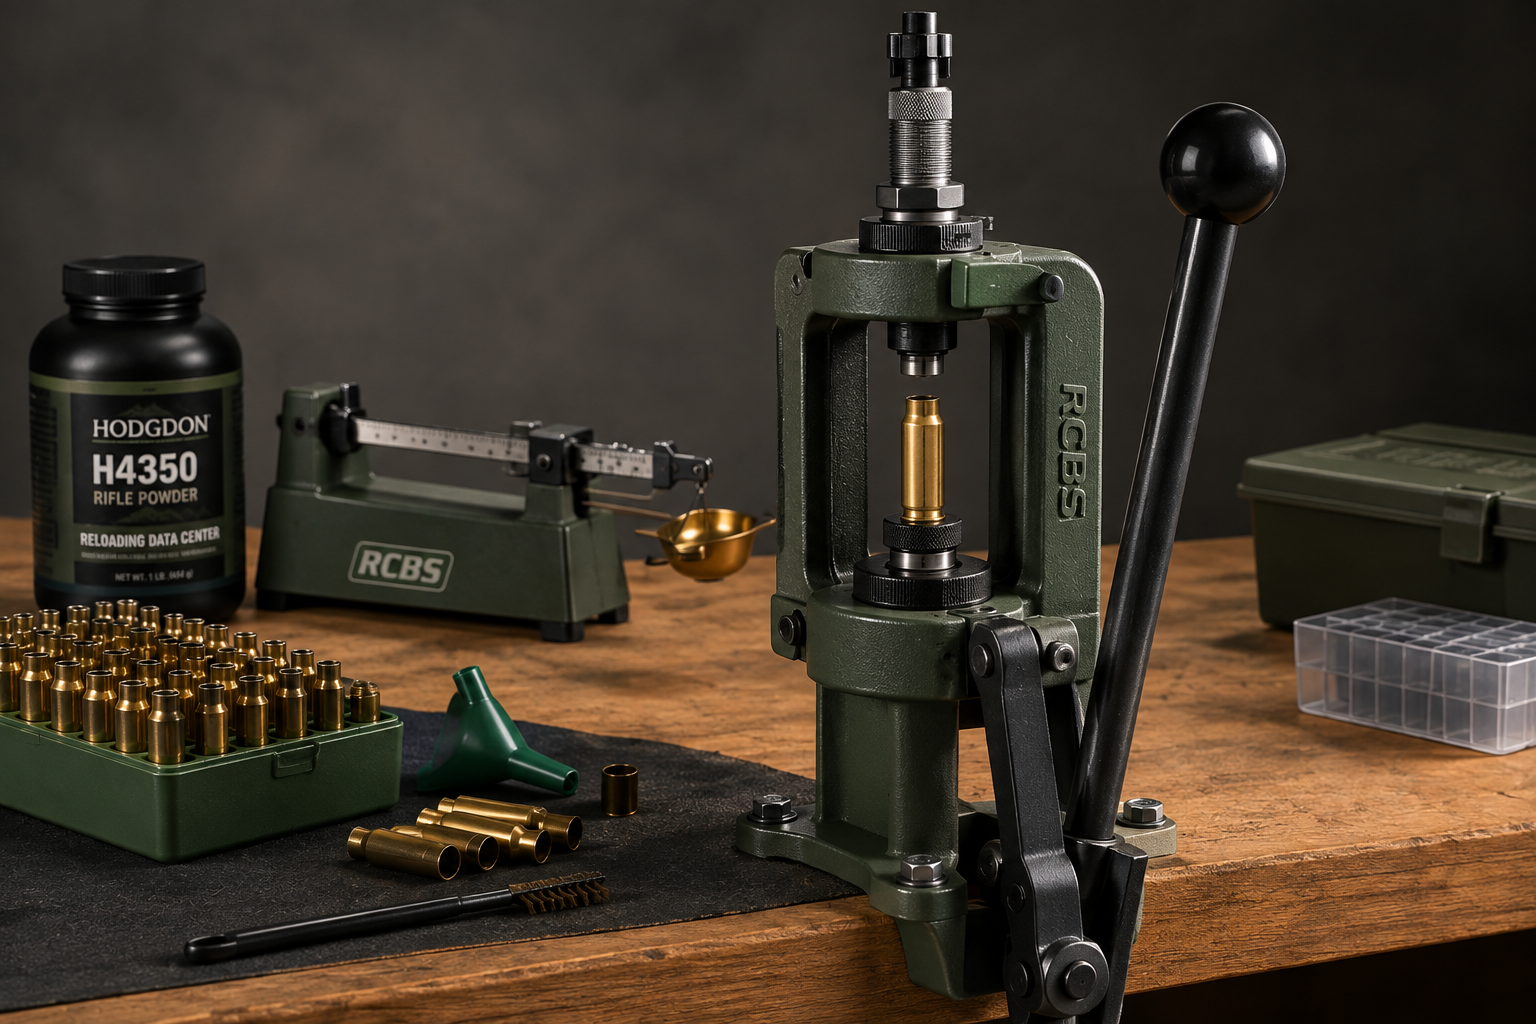
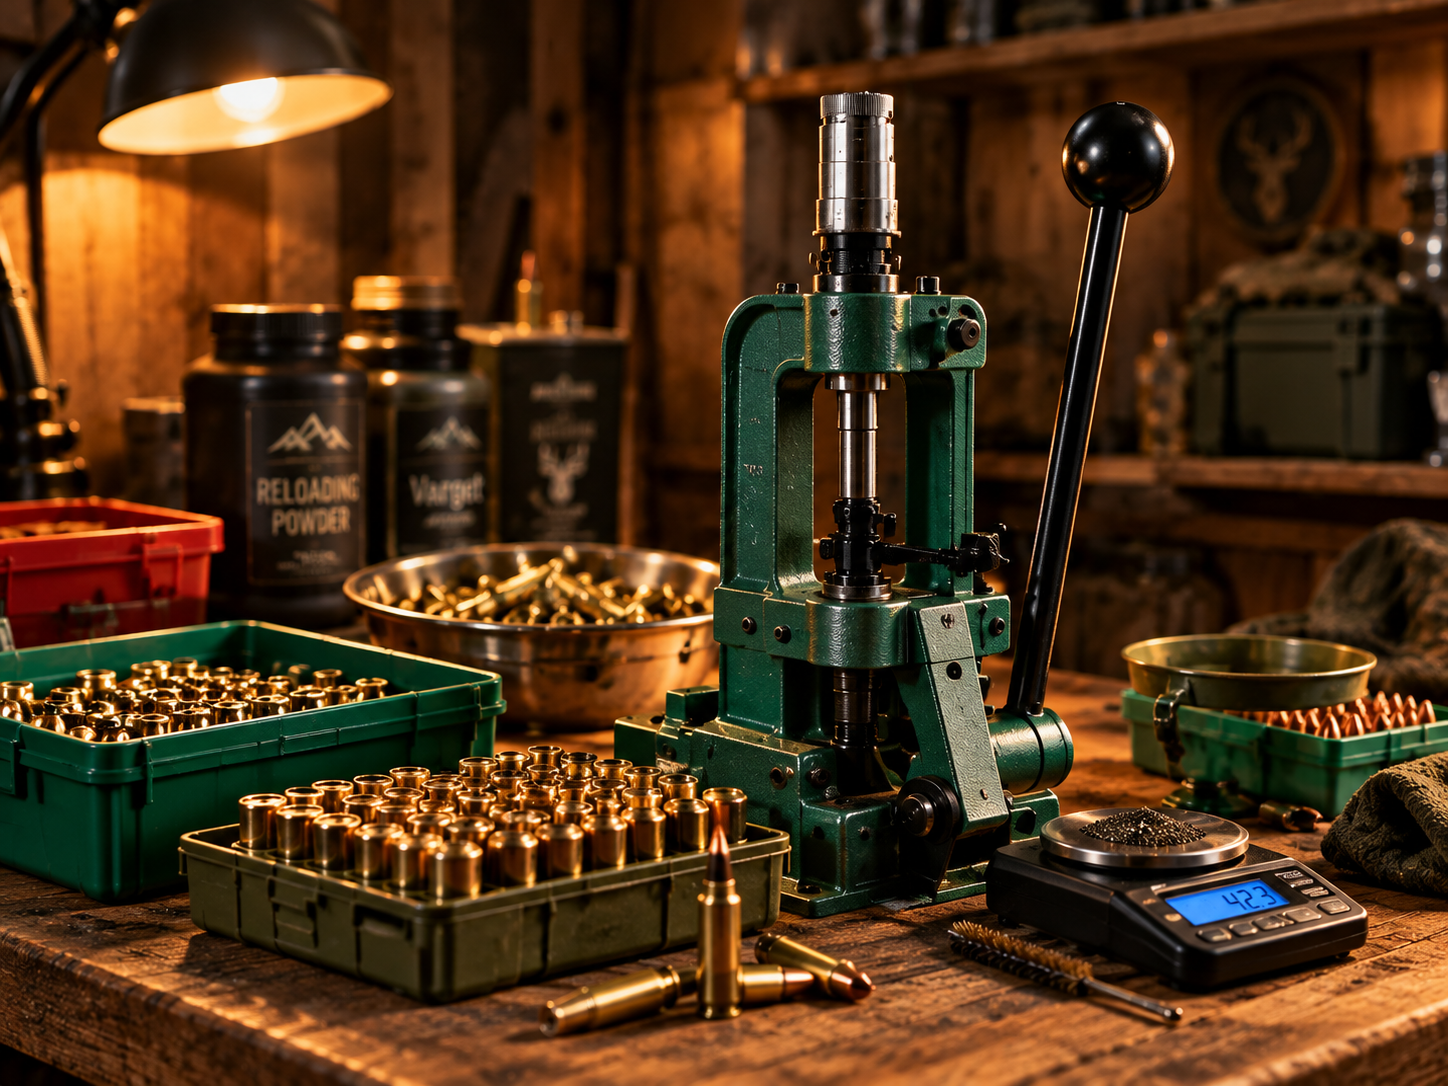
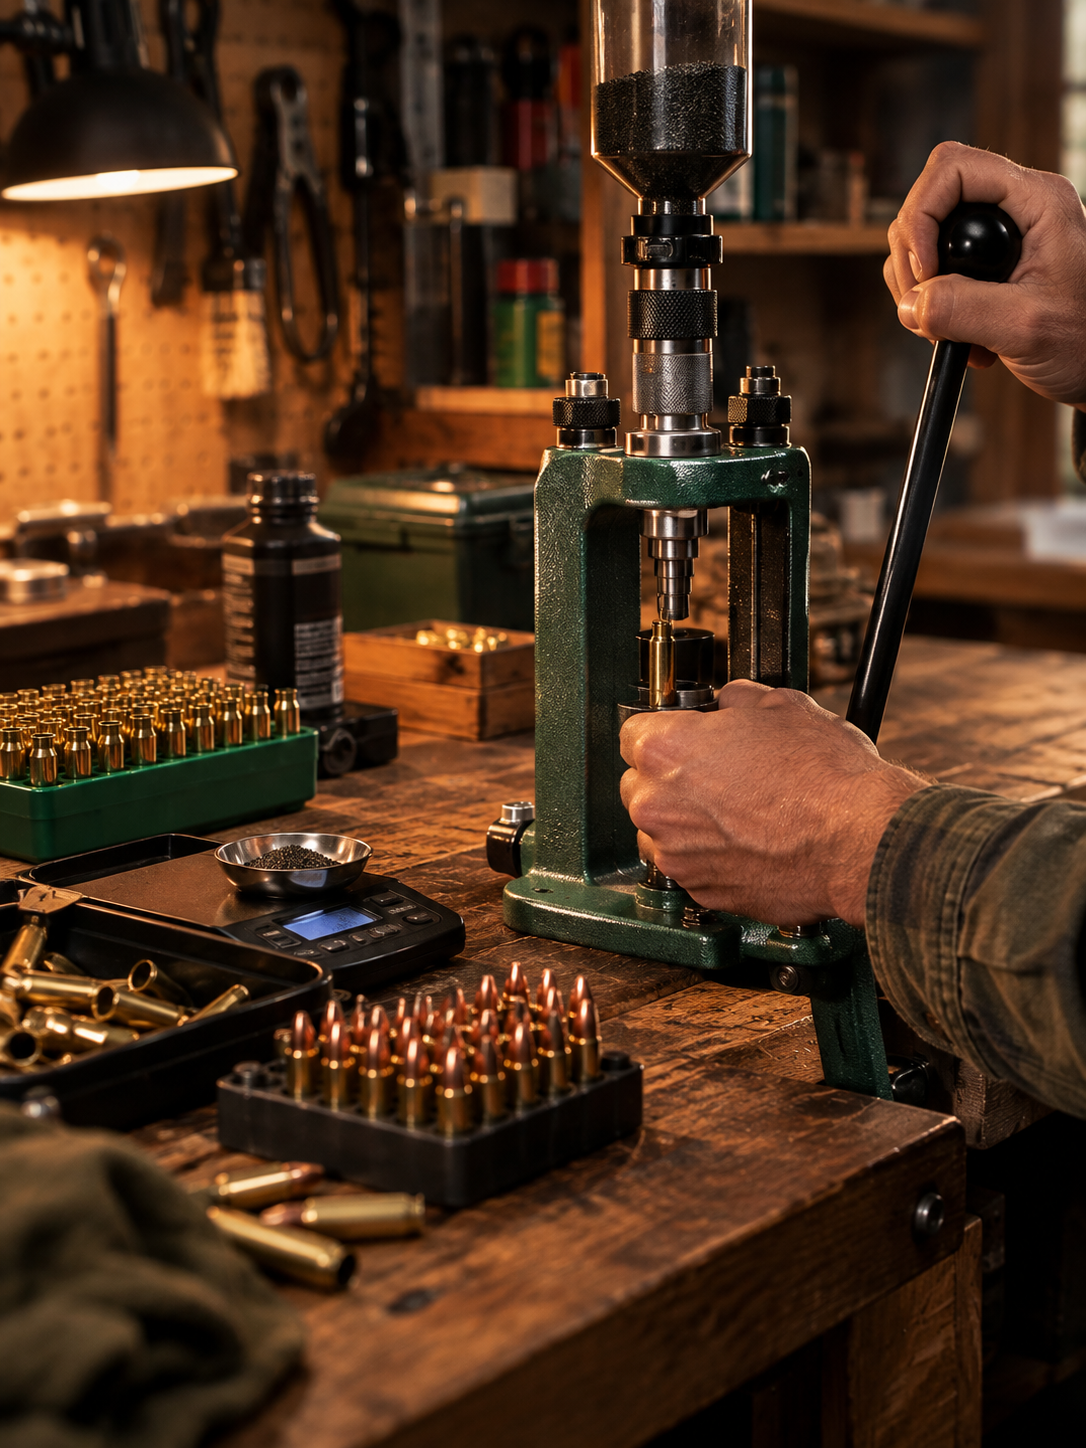
The core equipment. At a minimum, you'll want a reloading press, a set of dies matched to your caliber, a powder scale, a case trimmer, and a reloading manual from a reputable manufacturer. A single-stage press is the most common starting point — it's simple to learn on and gives you full control over each step.
Why the manual matters. Every caliber and bullet/powder combination has specific, tested load data published by powder and bullet manufacturers. This data exists for a reason: it's been pressure-tested for safety. Following a published reloading manual closely — rather than guessing or adjusting on the fly — is the single most important habit to build from day one.
The general steps, at a glance:
- Inspect and clean your brass casings, checking for cracks or damage.
- Resize and de-prime the case using your press and sizing die.
- Trim cases to the correct length if needed.
- Prime the case.
- Charge the case with powder, weighed precisely against your load data.
- Seat the bullet to the correct overall length.
Take your time on the details. Small inconsistencies — inconsistent powder charges, improperly seated primers, or case length variation — are usually the source of accuracy issues down the line. A steady, methodical process matters more than speed, especially when you're starting out.
Start with a mentor or a class if you can. Reloading is a rewarding skill, but it's one that rewards patience and precision. If you know an experienced reloader, ask to sit in on a session before buying your own setup — it's the fastest way to build good habits from the start.
Start With Your Use Case, Not the Spec Sheet
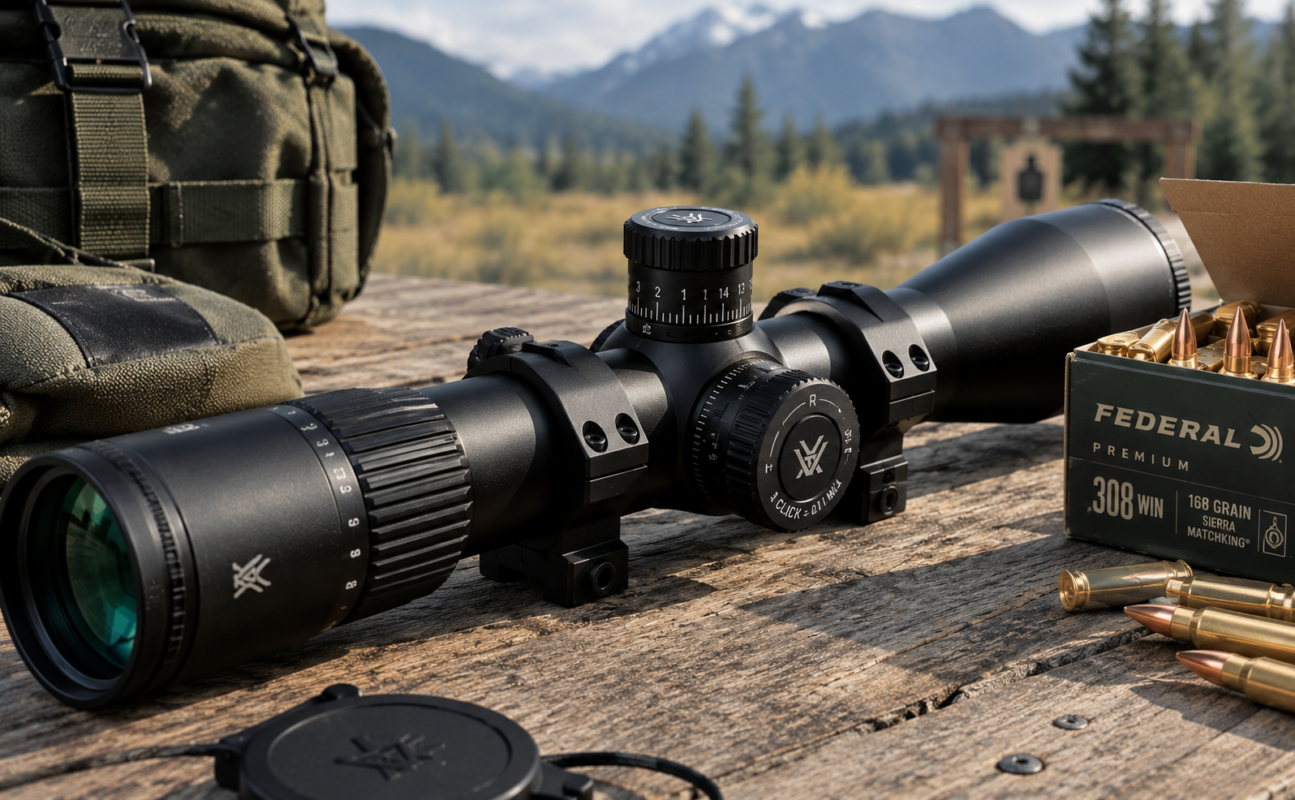
A scope built for 100-yard range days looks very different from one built for a 400-yard backcountry hunt. Before comparing magnification numbers, think about the distances you'll realistically be shooting and the light conditions you'll be in most often — early morning and dusk hunts demand better low-light glass than a midday range session.
A common mistake is chasing the highest magnification available: high magnification narrows your field of view and amplifies every small movement, which can work against you at closer range. A variable scope in the 3-9x or 4-12x range covers the vast majority of hunting and range use.
A duplex reticle is simple and fast for quick target acquisition, while a mil-dot or BDC (bullet drop compensator) reticle gives you reference points for holding over at distance. If you're new to long-range shooting, a BDC reticle paired with a ballistics app makes distance estimation far more approachable.
Reticle Type and Mounting Matter More Than You Think
Two scopes with identical magnification can perform very differently — cheaper glass often shows chromatic aberration and a duller image toward the edge of the field of view. If your budget allows, prioritize lens coating and glass quality over an extra few dollars of magnification range. Fully multi-coated lenses transmit more light and hold contrast better in low light, which matters far more in the field than an extra number on the zoom ring.
Just as important: even a great scope will feel wrong if it's mounted too low or too high relative to your cheek weld, or if the eye relief doesn't match your shooting stance. Get the right mount height for your rifle's action and comb height before you tighten anything down.